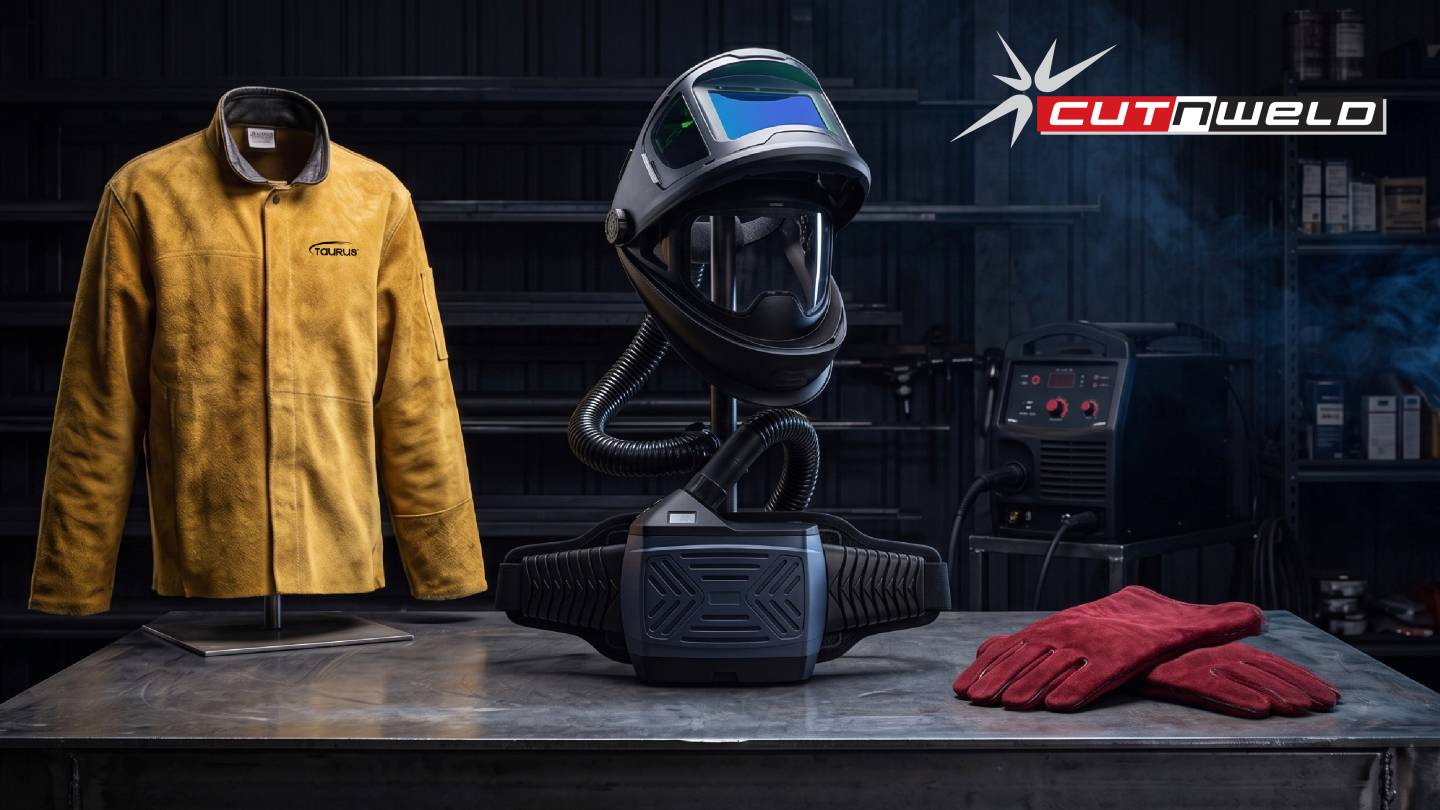
Why Taurus Pro Welding PPE is the New Standard for Southern African Resellers
Discover how Taurus Pro Welding PPE exceeds SA safety standards. From PAPR helmets to Kevlar leather, explore high-performance gear for professional resellers.


Discover how Taurus Pro Welding PPE exceeds SA safety standards. From PAPR helmets to Kevlar leather, explore high-performance gear for professional resellers.
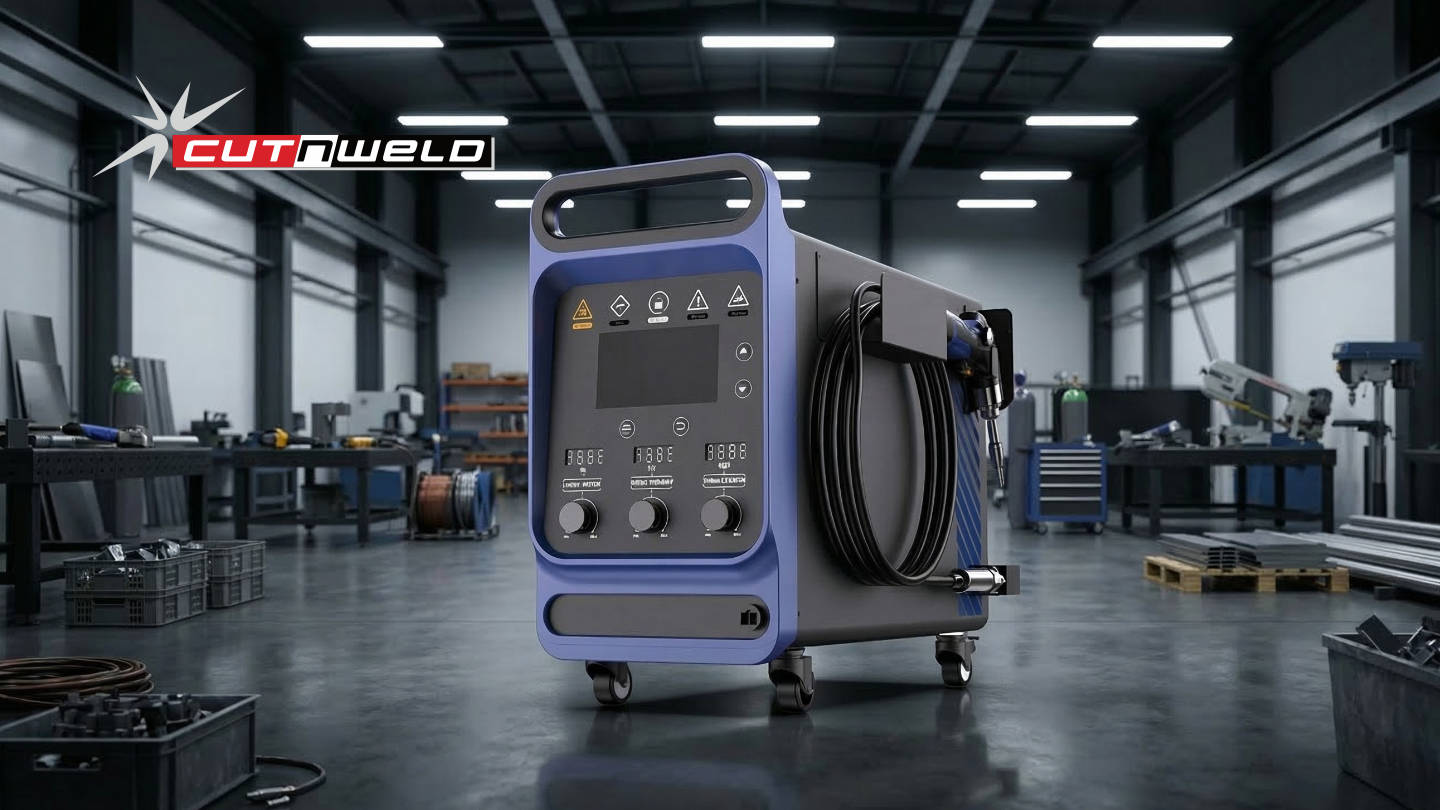
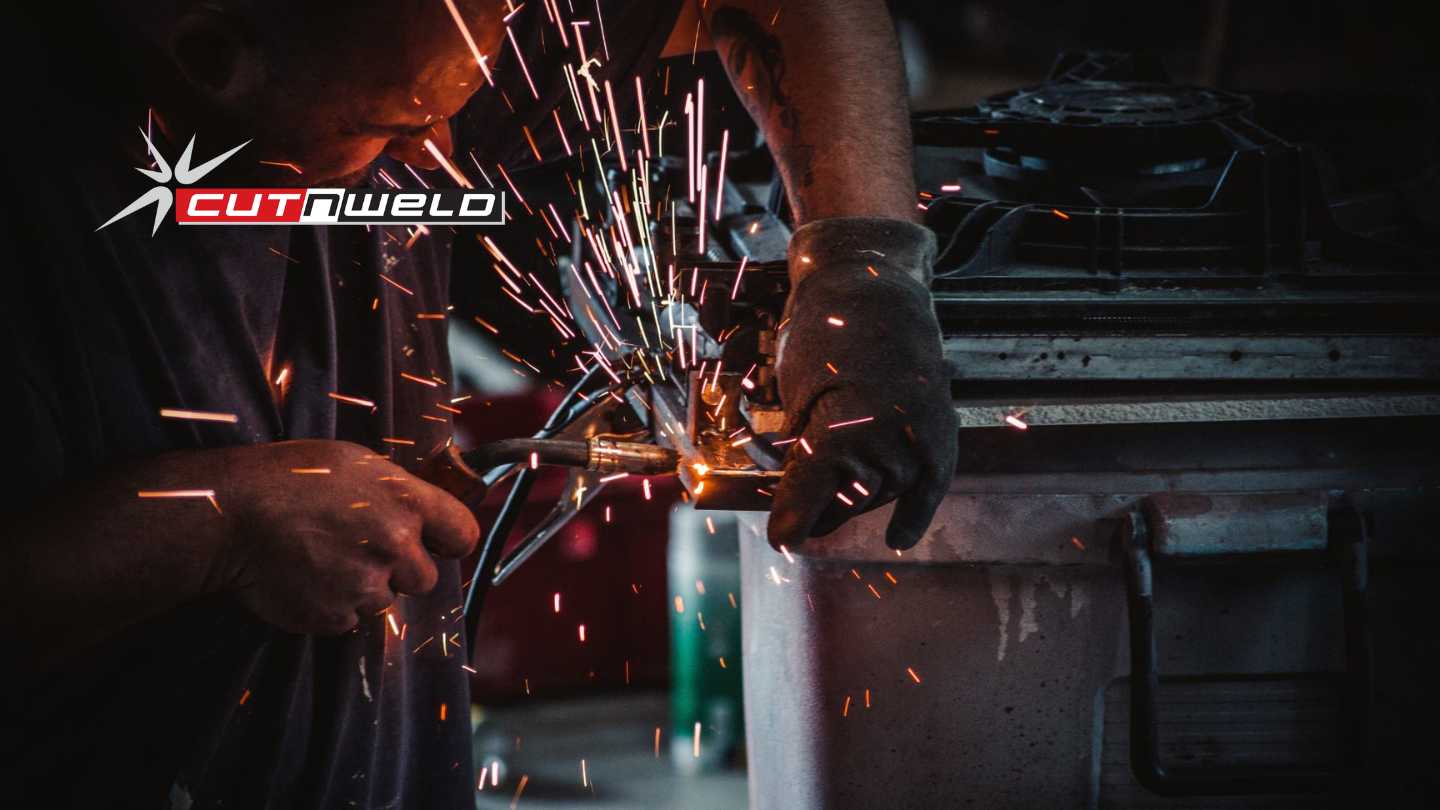
Here is a practical breakdown of how traditional methods stack up against modern Industrial Laser Welding technology.
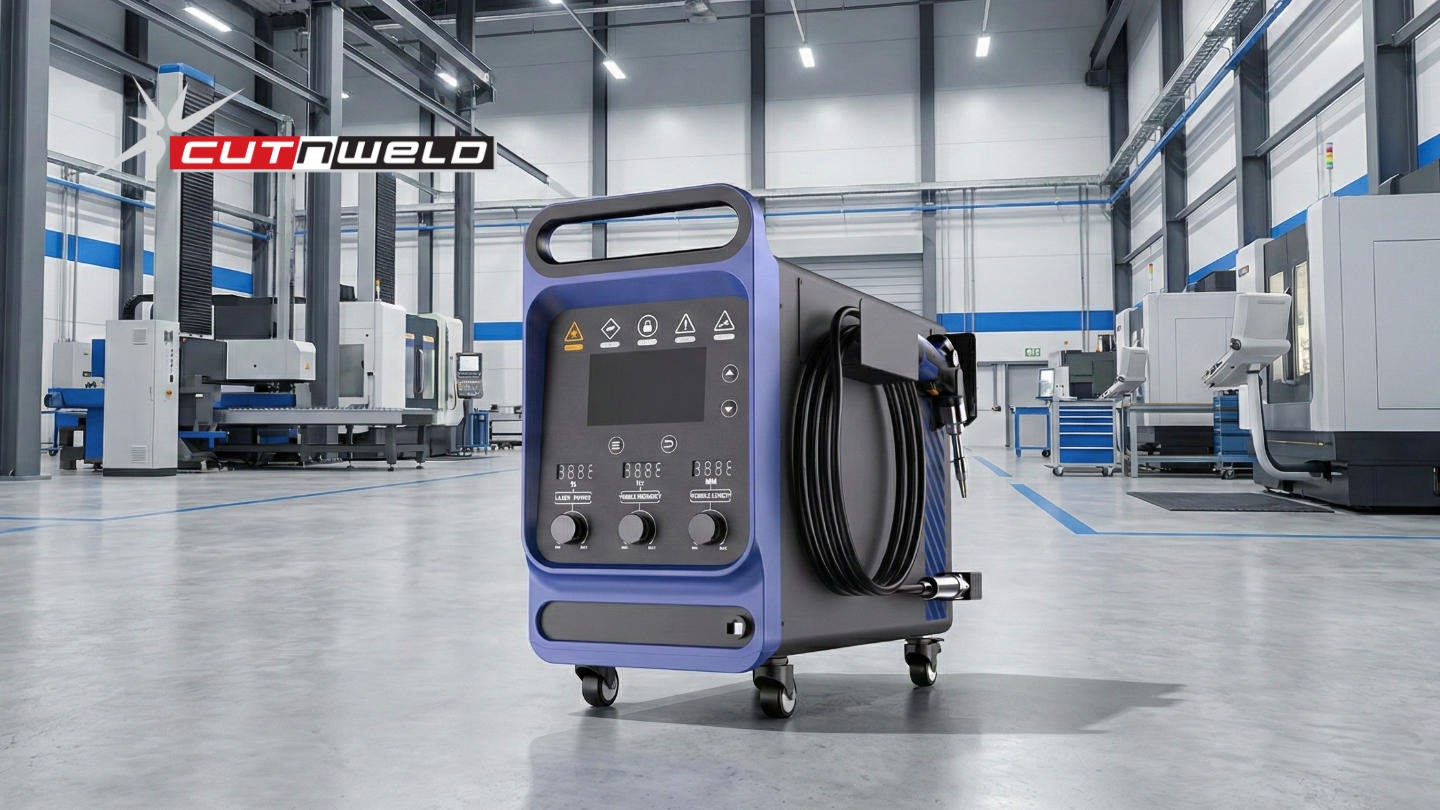
The precision of a Laser Welding Machine ensures that the first weld of the day looks exactly like the last, reducing the human error factor.